Shopping for a home cold plunge gets confusing fast. One page says buy the biggest luxury tub you can afford. Another says a plastic barrel and a bag of ice are enough. Buyers usually ask better questions: Will this stay cold in summer? Will I outgrow it? How hard is the upkeep? Is a chiller really worth it?
Here is the short answer. The best cold plunge tub with chiller for home is the one you will still use after the first month. For most buyers, that means enough room for your body, a chiller sized for your climate, a simple cleaning plan, a cover, and a setup that does not make you mess with ice every day.

Quick answer: what should most home buyers look for?
Use this filter before you compare brands:
- a tub that fits your height and shoulder width
- a chiller that matches indoor or outdoor use in your climate
- filtration plus a simple sanitation plan
- a lid or cover
- a drain plan
- US-based support if something fails
That list reflects what buyers keep running into in real threads: weak insulation, underpowered chillers, cramped tubs, cloudy water, and support worries with lookalike products.
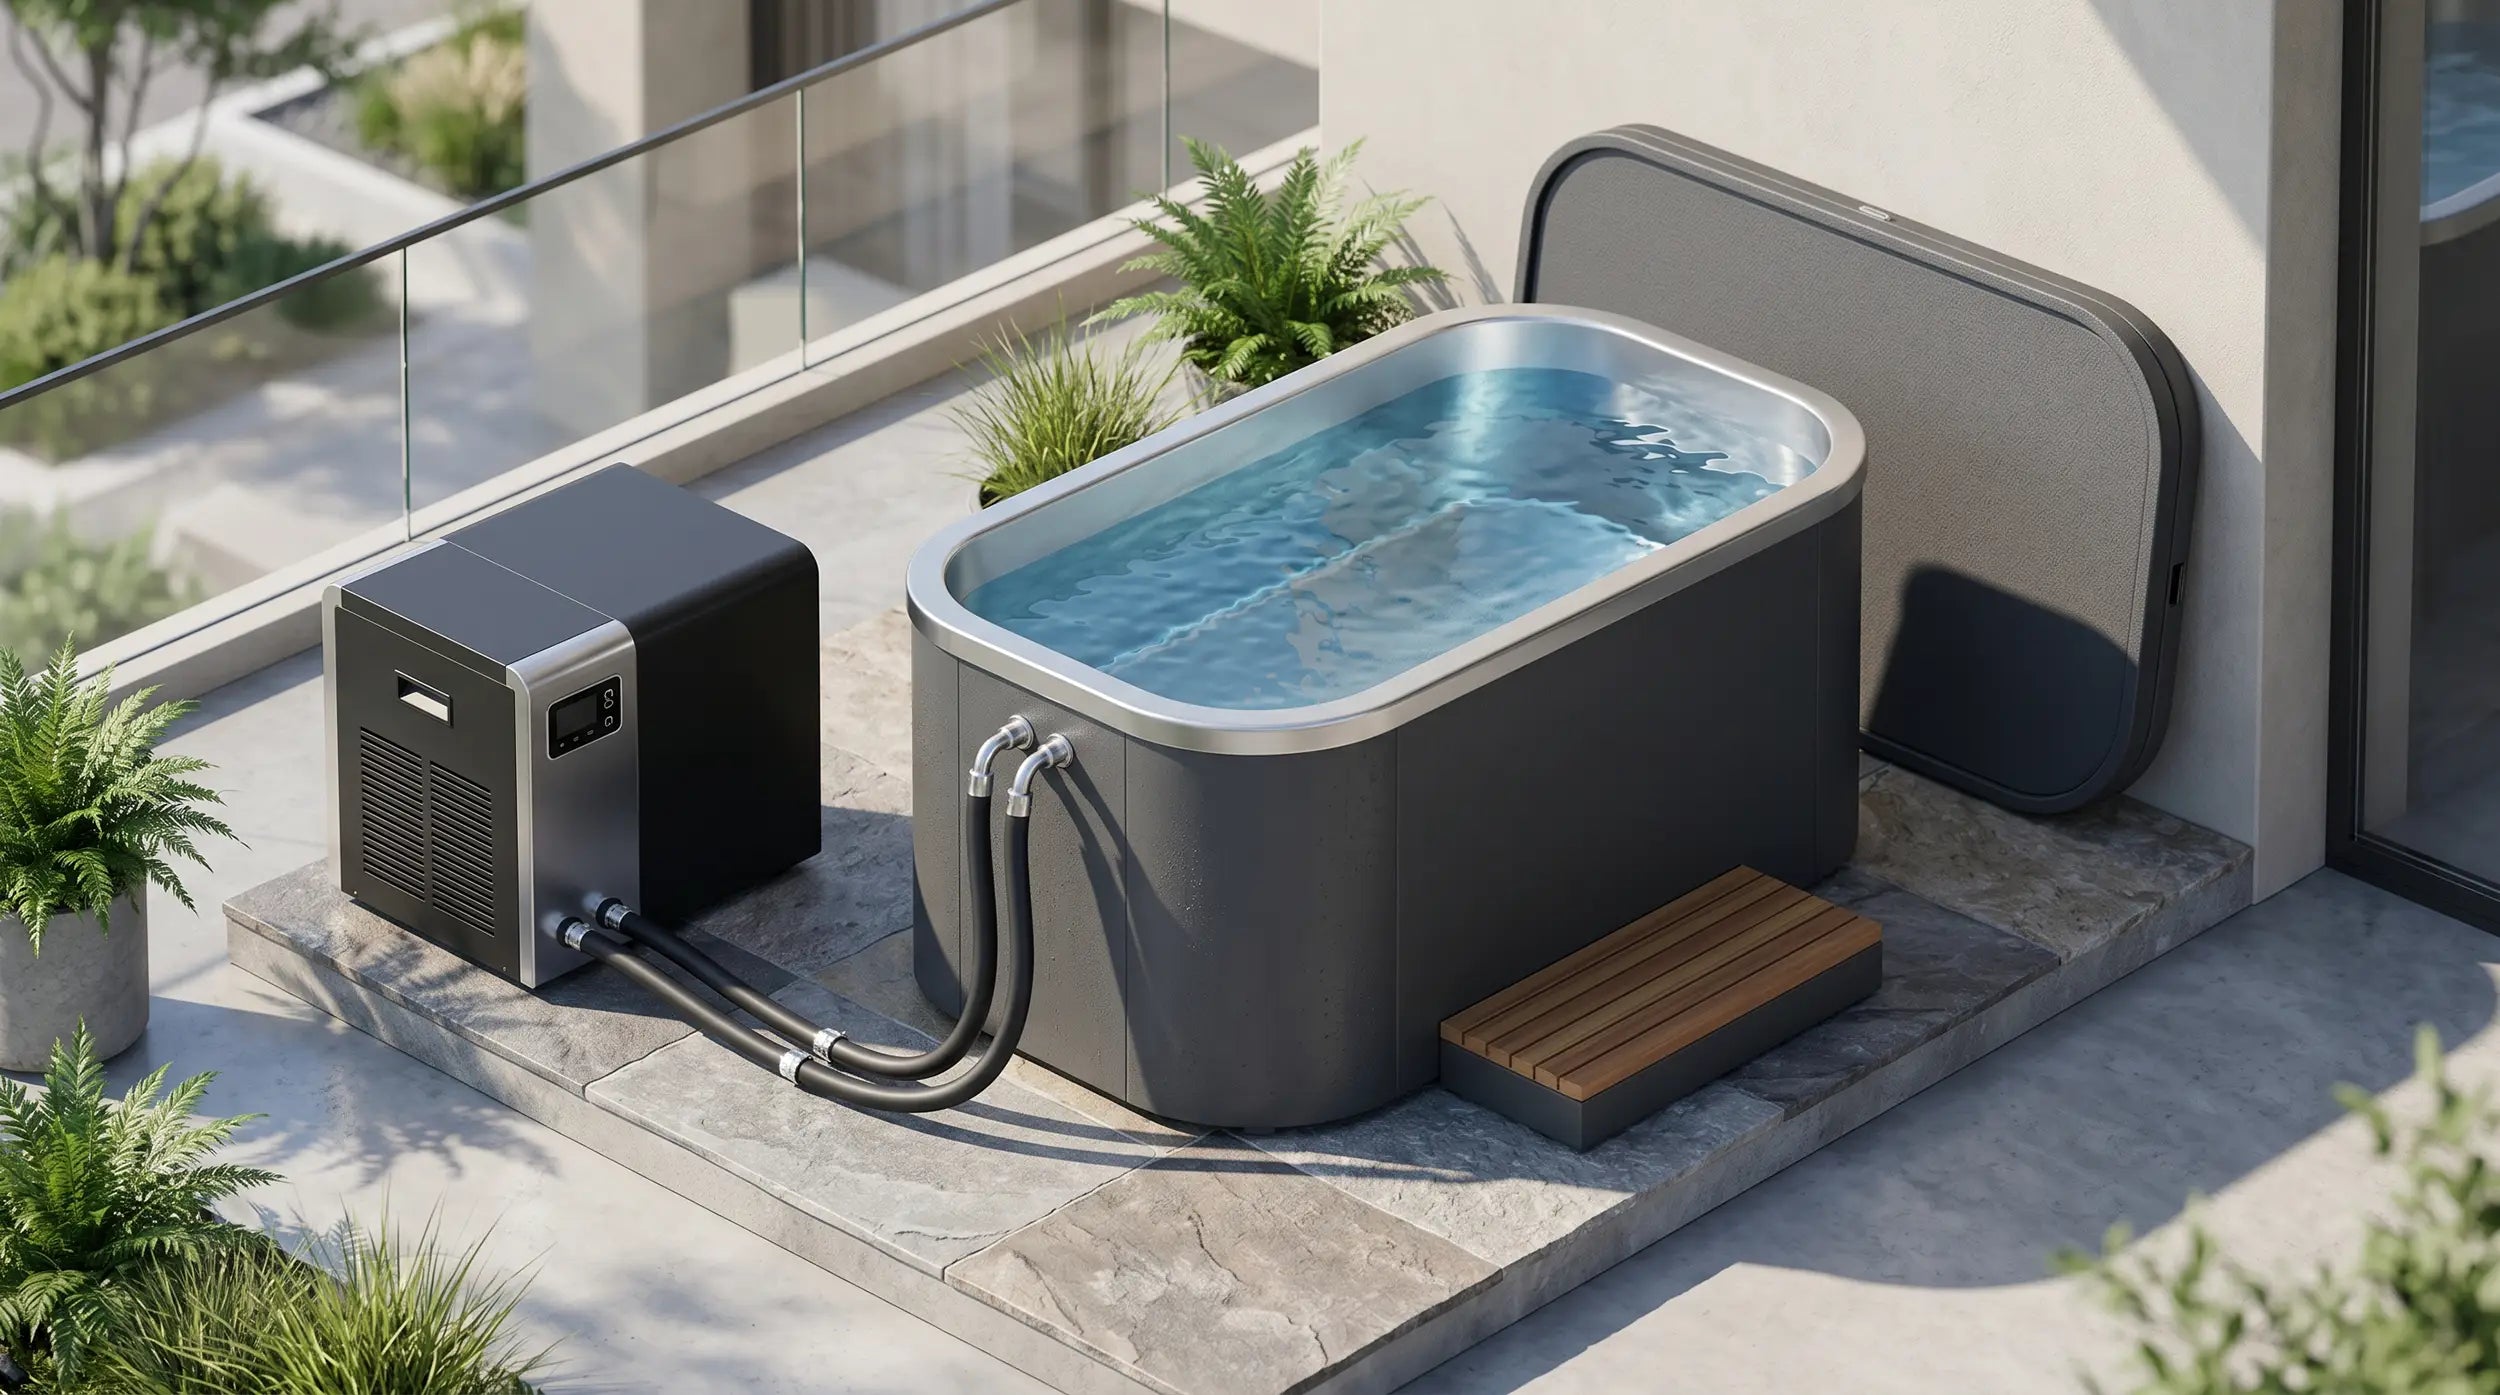
Start with the real choice: plug and play or more hands on?
This is the first fork in the road.
 A plug and play unit costs more, but it removes friction. You fill it, set the temp, and step in.
That matters because many buyers say the routine is the whole point. Once a setup needs constant ice, extra prep, or long cooldown waits, people stop using it.
A tub plus external chiller setup often costs less and gives you more control. It can be a smart middle ground if you are comfortable with hoses, filters, and a little setup work.
This route also lets you spend more of the budget on the part that matters most in hot weather: the chiller. One of the clearest takeaways was simple: buy the right chiller before you buy the prettiest tub.
A bare-bones ice bath can still be useful as a test run. Some users start with simple tubs, bathtubs, or used gear to see whether they will keep the habit before they spend real money. That can make sense if your budget is tight. It makes less sense if your main goal is daily convenience.
Buy the chiller for your climate, not for the ad
If your plunge will live indoors in a steady-temperature room, you can often get away with less cooling power than someone keeping a tub outside in Texas, Arizona, or Florida.
Users in hot climates bring this up all the time. In summer heat, underpowered chillers struggle, and weak insulation makes the problem worse.
One outdoor heat thread pointed people toward a harder shell and a stronger chiller, not a bigger marketing promise. Another home-use thread said the same thing in fewer words: a good chiller is more important than the tub.

Ask these questions before you buy:
Is the tub going indoors or outdoors?
Outdoor placement adds heat load from sun, air temp, warm surfaces, and weather swings. That changes what “good enough” means. Hot garage? Outdoor deck? Direct sun? All of that matters.
How much water will the system need to cool?
More water means more work for the chiller. So does poor insulation. Tall-user threads show the tradeoff well. People like vertical tubs for fit and footprint, but they still complain when the shell loses cold too fast.
How low do you really plan to go?
Many beginners start around 50 to 55 degrees. More experienced users often settle in the mid 40s. You do not need to chase the lowest possible number on day one. Consistency beats bragging rights.
Pick the tub shape for your body and space
The “best” tub on paper is not the best tub for your home if you hate getting into it, feel cramped, or cannot place it where you plan to use it.
Laydown tubs work well for people who want a more open feel. Some premium models are designed for taller users and longer sessions, and major brand pages lean hard into that comfort angle.

Vertical tubs use less floor space and often work better for garages, patios, or tighter layouts. They also appeal to tall users who want deeper immersion without a long shell.
Still, threads from tall buyers show that not every upright model holds temperature well, and insulation can become the weak point fast.
Before you buy, check your height, shoulder width, interior depth, room footprint, entry and exit, and doorway clearance if the unit is going inside. Tall-user and apartment threads exist because people keep learning this after they buy.
The upkeep question matters more than most people expect
Many shoppers think the buying decision is about temperature. After the sale, the bigger issue is often water care.

Users who keep their water clean for months tend to repeat the same themes: filter the water, keep a simple sanitation routine, rinse or replace filters on schedule, and keep dirt out in the first place.
One user said the filter did more work than people realize. Another said the water got much clearer once they added a whole-house style filter. Others run ozone on a schedule and rinse filters every couple of weeks.
Here is the simple buyer rule. Pay for the parts that keep the water cold and clean. Be skeptical of extras you will rarely use. When people say a tub is “worth it,” they usually mean two things: it stays ready every day, and the upkeep does not become annoying.
Do not ignore support, warranty, and replacement parts
This is one place where US buyers should slow down.
The portable budget threads show a common fear: many inflatable products look nearly identical, and buyers are not sure who will still answer the phone after the sale.
The US comparison thread hits the same concern from a different angle. People want to know who holds up in summer, who has durable parts, and who actually supports the product over time.
Before you buy, ask four questions:
- Who handles warranty issues in the US?
- How fast can you get a replacement pump, filter, or lid?
- What happens if the chiller fails in peak summer?
- Is there a real phone number or service path, not just a form?
That is not glamorous. It is the difference between a daily habit and a dead box on your patio.
Who should buy what?
Let’s break it down.

You want the easiest daily routine
Buy a true self-chilling home unit with built-in filtration and a clean setup. You are paying for less friction. This is the best fit for people who know they will use it often and want the habit to feel automatic.
Review sites put high value on chillers that cool fast, hit low temps, and keep cleanup simple.
You want good value without a full luxury price
Look at an insulated tub with an external chiller and decent filtration. This route works well for buyers who can handle a little setup and care more about function than a polished look. Buyers under tighter budgets often lean this way.
You are not sure you will stick with it
Start cheaper or used. A simple test period can save you from buying a premium setup you only use for two weeks. Threads are full of people who got started with low-cost tubs, bathtubs, or used gear first.
What temp and session length make sense for beginners?
Beginners often start warmer than social media would have you believe. A common range is 50 to 55 degrees, with short sessions at first. More seasoned users often sit in the 45 to 50 degree range. Some push lower, but even those threads keep coming back to the same message: colder is not always better.
A practical on-ramp looks like this:
- Start at 50 to 55 degrees
- Keep early sessions around 1 to 2 minutes
- Build toward 2 to 3 minutes if that feels manageable
- Focus on calm breathing and a clean exit, not proving a point

That lines up with beginner advice and with sports medicine guidance that cold water immersion can be short, measured, and still useful.
Mayo Clinic Health System says people often start with 30 seconds to a minute and build toward five to ten minutes, while ACSM notes recovery protocols in the 50 to 60 degree range rather than a race to near-freezing water.
A safety note readers will thank you for
Cold plunges are not harmless for everyone.
The American Heart Association says sudden cold exposure can trigger a rapid rise in breathing, heart rate, and blood pressure.
Cleveland Clinic says people with heart disease, high blood pressure, diabetes, poor circulation, peripheral neuropathy, and some other conditions should check with a clinician first.
ACSM also lists several contraindications, including Raynaud’s disease, uncontrolled hypertension, cardiovascular disease, and prior cold injury.
One thing lifters should know before they build this into recovery
If your main goal is muscle growth and strength, timing matters.
For heat-side recovery timing, see our guide on sauna before or after a workout.
Harvard Health says the evidence for performance gains is not clear and notes that post-exercise cold therapy may hurt gains in muscle power and strength.
Mayo Clinic Health System says daily post-training plunges could compromise long-term performance improvements.
ACSM points to research where people who used cold water immersion right after resistance training ended with smaller gains in strength and muscle size.
That does not mean a cold plunge is bad. It means serious lifters may want to separate heavy lifting and plunging instead of treating cold exposure as the default move after every workout.

FAQ
Do I really need a chiller for a home cold plunge?
Not always. If you are testing the habit, ice or a simple tub may be enough for a while.
But threads keep showing the same tradeoff: once people want daily use, stable temps, and less hassle, the chiller becomes the part they value most.
What matters more, the tub or the chiller?
For most home buyers, the chiller. That is the recurring answer, especially for outdoor use and hot climates.
The shell still matters for fit and insulation, but the chiller usually decides whether the setup stays usable in real life.
What temperature should a beginner use?
A lot of beginners start around 50 to 55 degrees. Many regular users settle in the mid 40s. Start warmer than you think and build up.
How do I keep the water clean without making this a part-time job?
Look for constant circulation, real filtration, a simple sanitation plan, and a habit that keeps dirt and sweat down before you get in. Users often mention routine filter care and ozone as the difference between clear water and constant frustration.
Are cold plunges worth it if I already take cold showers?
They can be, mostly because they make full-body immersion repeatable. Still, if your budget is tight, many users test the habit with cheaper setups first instead of jumping straight to a premium tub.
Should I pair a cold plunge with a sauna?
Many people do. Alternating heat and cold, often called contrast therapy, is why the benefits of sauna and cold plunge get talked about together. If you already have a sauna, a simple sauna cold plunge routine is to warm up first, then take a short, controlled cold dip. Whether you do the cold plunge before or after sauna, most routines put the heat first and the cold second. For the upside of the heat side, see the benefits of a sauna.


